
 English
 русский
 Español
 Português
 عربى
عربى
 Türk
Türk








+86 18395326713
Dec 18, 2025
The demand for reliable water supply systems has grown significantly as households seek convenient access to water for daily use. household water pumps have emerged as a practical solution to ensure consistent water pressure, support irrigation, and provide emergency water access. While the installation of these pumps may seem daunting to some, understanding a systematic approach can simplify the process and improve long-term performance.
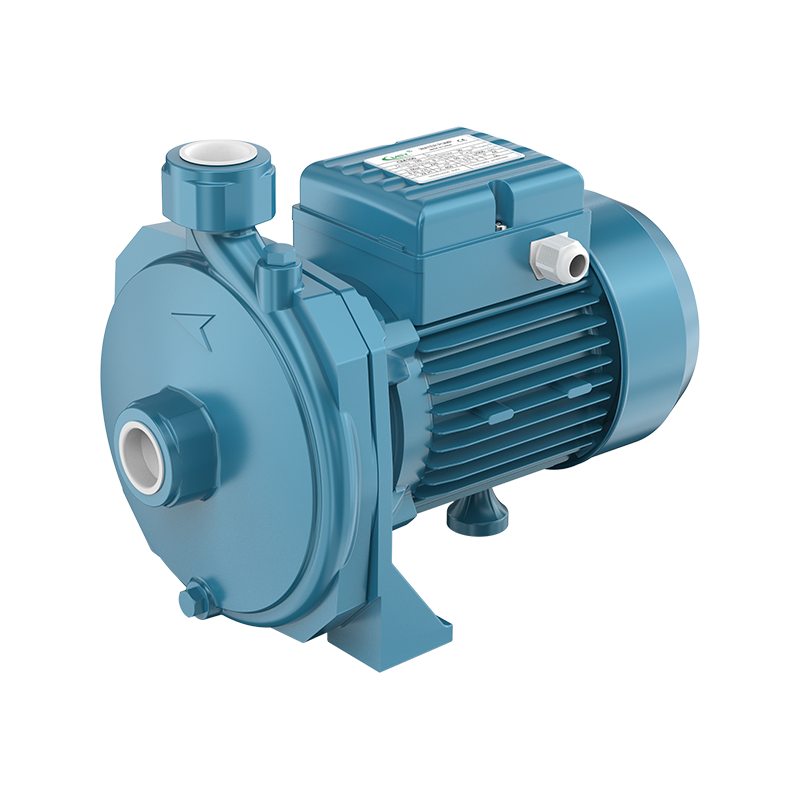
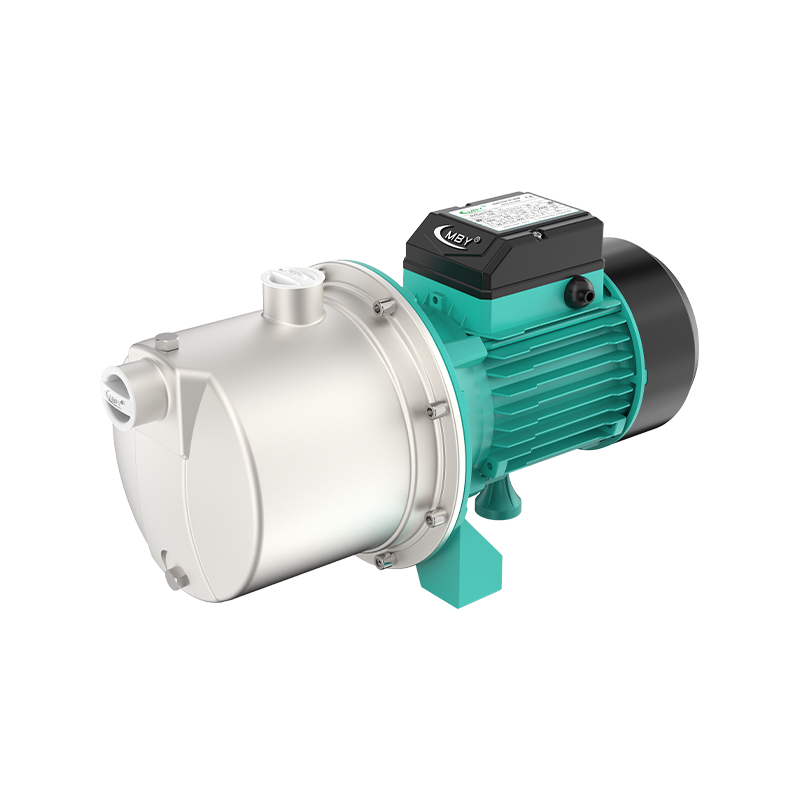
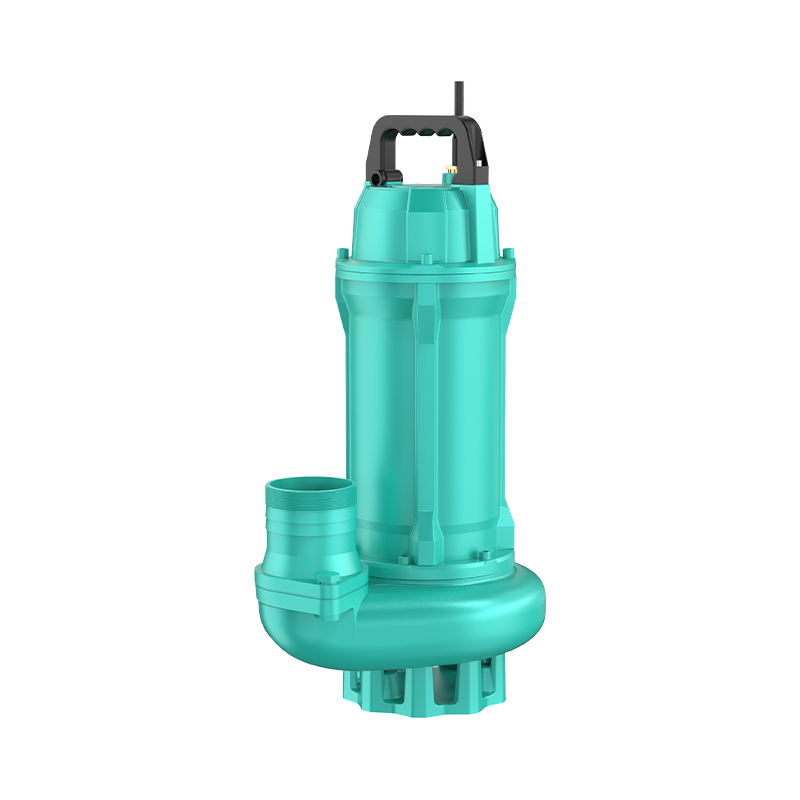
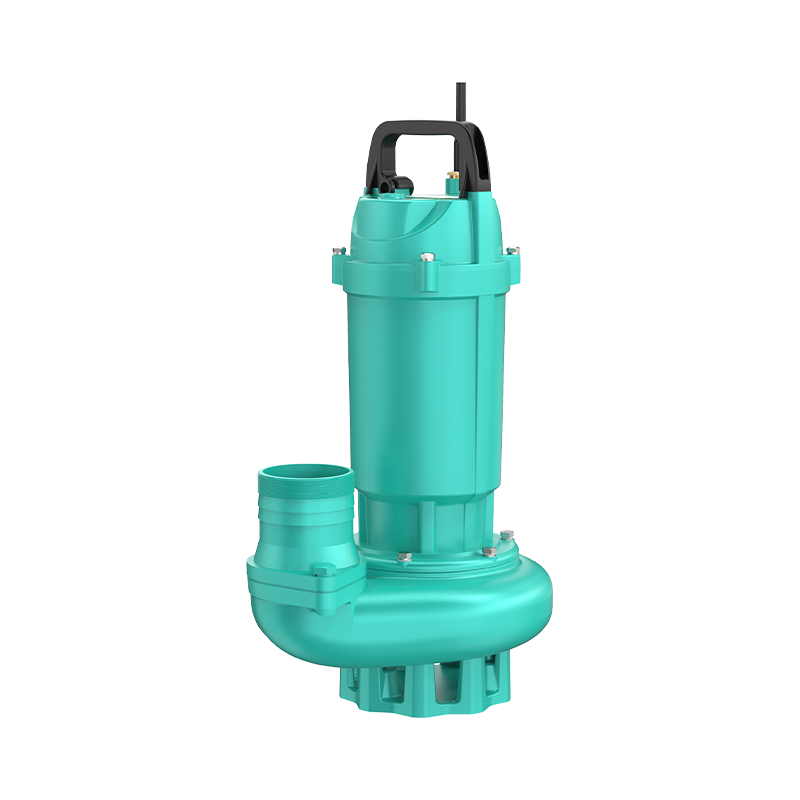
Before initiating the installation process, it is important to understand the types of household water pumps and their functions. The primary types include centrifugal pumps, submersible pumps, and jet pumps. Each type has distinct characteristics regarding efficiency, noise level, maintenance, and suitability for various water sources such as wells, municipal supply, or storage tanks.
| Pump Type | Suitable Application | Advantages | Maintenance Level |
|---|---|---|---|
| Centrifugal Pump | Municipal water supply | High efficiency, quiet operation | Low |
| Submersible Pump | Wells and deep water sources | Minimal noise, durable, compact | Medium |
| Jet Pump | Shallow wells or tanks | Easy to install, cost-effective | Low |
household water pumps manufacturers often design units to cater to these specific applications, ensuring optimal performance for a variety of household needs. Understanding the pump type helps homeowners select the right unit for their water source and usage patterns.
Proper planning before installation is crucial to prevent issues such as water leakage, low pressure, or premature wear. Consider the following:
Water Source Assessment: Identify the source, flow rate, and depth. Accurate assessment determines the required pump capacity.
Location Planning: Choose a stable, dry, and well-ventilated area. Avoid direct exposure to sunlight and moisture for above-ground pumps.
Power Supply Requirements: Check voltage and current specifications. Ensure compatible wiring and safety protections like circuit breakers.
Pipe and Fitting Selection: Use appropriate pipe diameters and high-quality fittings to maintain system efficiency and prevent leaks.
| Pre-Installation Step | Description | Recommended Tools |
|---|---|---|
| Water Source Assessment | Measure flow rate and water depth | Flow meter, tape |
| Location Planning | Identify stable, dry, and ventilated space | Level, measuring tape |
| Power Supply Verification | Confirm voltage and current compatibility | Multimeter, tester |
| Pipe and Fitting Selection | Ensure correct pipe diameter and materials | Wrench, pipe cutter |
household water pumps manufacturers provide guidelines and installation manuals that help align these preparations with the pump’s specifications.
Clear the installation area, ensuring a flat surface for mounting. For submersible pumps, verify that the well or tank is clean and free of debris. For above-ground units, secure a firm foundation to minimize vibrations.
Measure and cut pipes according to the layout plan. Connect pipes using appropriate fittings. Ensure that joints are tightly sealed to prevent leakage. When connecting suction and delivery pipes, maintain smooth curves to reduce friction losses.
Place the pump in the designated area. For centrifugal or jet pumps, ensure it sits on a level surface. Submersible pumps should be lowered into the well or tank slowly, keeping it vertical. Check manufacturer recommendations for clearance and depth.
Connect the pump to the power supply following safety regulations. Ensure proper grounding and use waterproof connectors if required. Test voltage and current to verify compatibility. Most household water pumps operate on standard household voltage but always confirm specifications.
Fill the suction pipe with water to prime the pump. For self-priming pumps, this step may not be necessary. Open delivery valves gradually and switch on the pump. Monitor pressure levels and flow rate, making adjustments as needed. Check for leaks, unusual vibrations, or noise during initial operation.
Install pressure relief valves, check valves, and other safety components recommended by household water pumps manufacturers. Establish a maintenance schedule that includes periodic inspection, cleaning, and lubrication where applicable. Regular maintenance ensures longevity and reliable performance.
| Installation Step | Key Considerations | Safety Tips |
|---|---|---|
| Site Preparation | Level surface, clean area | Avoid wet surfaces |
| Pipe Assembly | Correct pipe diameter, sealed joints | Wear protective gloves |
| Pump Positioning | Level mounting, correct submersion depth | Avoid tilting or misalignment |
| Electrical Connections | Correct voltage, grounding | Turn off power before wiring |
| Priming and Initial Operation | Gradual opening, monitor performance | Check for leaks and vibration |
| Safety and Maintenance Setup | Install valves, schedule maintenance | Follow manufacturer guidance |
Proper installation alone is not sufficient; optimizing performance involves careful monitoring and adjustments. Consider these strategies:
Flow Regulation: Use valves to balance water distribution and pressure across the household.
Leak Prevention: Inspect joints and seals regularly.
Routine Cleaning: Prevent sediment accumulation in submersible pumps and filter screens.
Noise Management: Install vibration pads or rubber mounts for above-ground pumps.
high-quality household water pumps manufacturers design pumps to accommodate these adjustments, ensuring they operate efficiently in a wide range of household environments.
Even after meticulous installation, issues may arise. Common problems include:
Low Water Pressure: Often caused by air in pipes, clogged filters, or insufficient pump capacity.
Pump Overheating: Can result from running the pump dry or blocked intake.
Noise or Vibration: Indicates misalignment, loose fittings, or worn bearings.
A systematic approach to troubleshooting involves inspecting the pump, pipes, and electrical connections while referencing manufacturer guidance.
| Issue | Possible Cause | Recommended Action |
|---|---|---|
| Low Water Pressure | Air in pipes, clogged filters | Bleed air, clean filters |
| Pump Overheating | Dry run, blocked intake | Ensure water supply, check intake |
| Noise or Vibration | Misalignment, loose fittings | Realign pump, tighten fittings |
The household water pump industry has evolved, driven by the need for energy efficiency, durability, and smart technology integration. Innovations include:
Energy-efficient motors that reduce electricity consumption.
Corrosion-resistant materials suitable for diverse water types.
Smart pumps with remote monitoring and automated controls.
Noise-reduction designs enhancing household comfort.
These developments reflect the commitment of household water pumps manufacturers to deliver products that meet modern household requirements while minimizing environmental impact.
Installing a household water pump is a manageable task when approached systematically. By understanding the types of pumps, planning the installation site, carefully assembling pipes, ensuring electrical safety, and performing initial testing, homeowners can enjoy reliable water supply and improved household efficiency. Following a structured guide ensures not only successful installation but also prolonged pump lifespan, optimized performance, and enhanced safety. Regular maintenance and adherence to manufacturer recommendations further support consistent operation.
Hot News
 Oil Immersed Submersible Electric Pump: Working Principles, Applications, and Future Trends
Sep 04, 2025
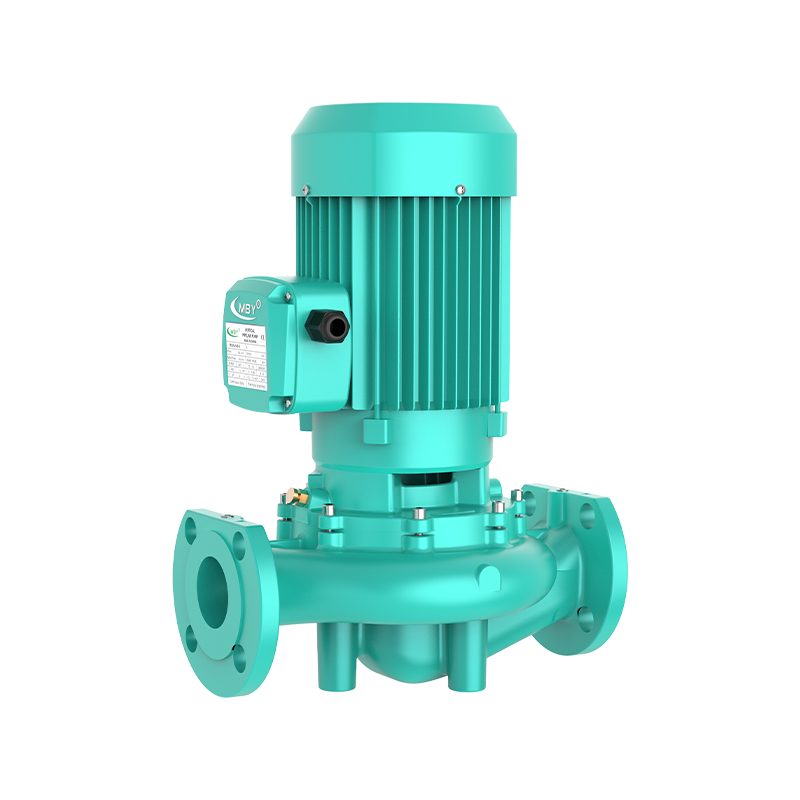 Global Pipeline Centrifugal Pump Industry Update: High-Efficiency Double Suction and Magnetic Drive Technologies Leading the Industrial Water Treatment Revolution
Sep 04, 2025
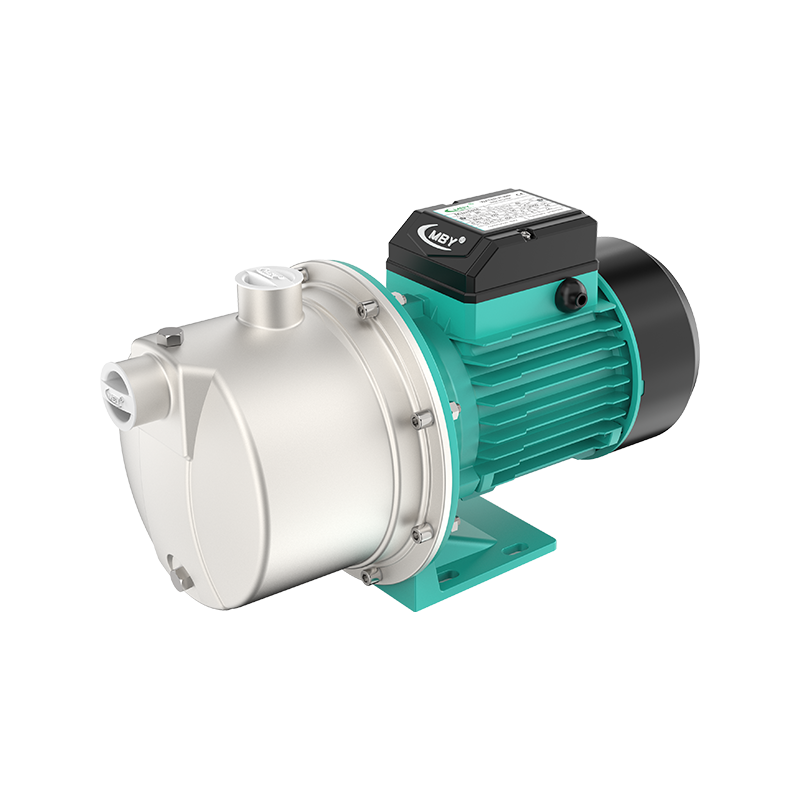 Complete Guide to Household Water Pumps: From Selection, Installation to Maintenance, Your Home's 'Water Butler'
Sep 04, 2025
 Can the intelligent automatic self-priming vortex water pump lead a new era in water management?
Sep 04, 2025
Get In Touch

Address 1:
No. 4 Taoyuan Road, Taozhou Town, Guangde City, Xuancheng City, Anhui Province, China
Address 2:
Daxi Town, Wenling City, Taizhou City, Zhejiang Province, China Pump Industry Intelligent Manufacturing Town